I put together this quick tutorial on how to paint a UCM Raven (the ‘B’ model in this case). Up close, the camera reveals many imperfections (in HD no less). But at arm’s length, these 10mm scale models look pretty good. I find the trick with models this size is to make their outlines visible, so they stand out on the table. And since my color scheme is somewhat drab, use a little color to make the models pop a bit more.
Step 1 – I started with Army Painter Spray Primer, Army Green. Great stuff. Just lay on a smooth coat.

Step 2 – Basecoating and wash. Paint the exhausts and canopy. I used Citadel Ironbreaker for this, and Abbadon Black on the two radome bulbs above the canopy. Then wash the whole thing with Citadel Nuln Oil. This will darken the model (which I wanted) but leave the model looking blotchy and kinda like crap. Push past this by laying down a thin layer of paint over it. I used Citadel Catachan Green, but if you started with say, a sand color, you would just use a sand colored paint. The layer I use is indeed thin, with a little more water than paint. This smooths out the wash and brings the color back up.
 Step 3 – Exhaust staining. I did the heat staining on the exhausts by using brown, purple and blue washes in that order, from the inside of the exhaust fans to the trailing edge. Lay down all the colors wet and they blend together naturally.
Step 4 – Highlighting. For UCM models, they tend to have panel lines. You can highlight these by painting a stripe of a lighter color down their length (I used Citadel Nurgling Green). Don’t be afraid to go outside the groove. In fact, you want to a bit. The groove will be blacked in in the next step. Doing the panel lines like this really helps the models stand out on the table and gives them a lot more definition. I then edge highlighted everything else with the same color.
Step 5 – Black lining. These Ravens only had one line to do across the back of the wings and fuselage, but it’s a typical feature on UCM models with large, flat surfaces. The black line is done with a Micron pen, but you could also do it with a brush and black ink if you’re careful.
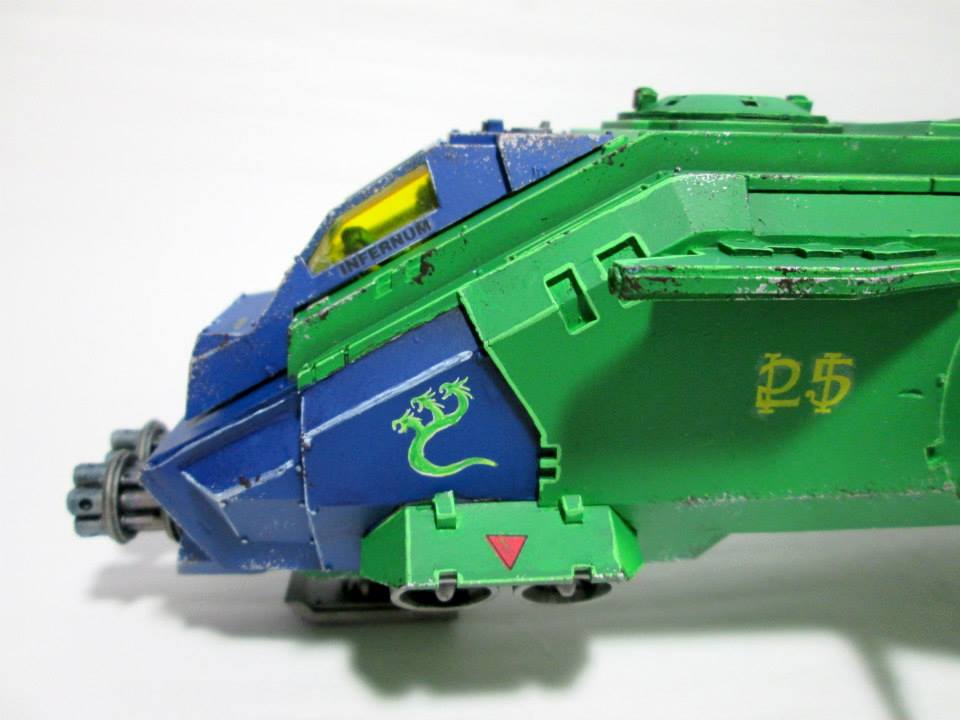
Step 6 – Detail. Without any detail, the models clearly lack something. I add a simple rub-on letter transfer (I use Woodland Scenics) and yellow bar on the fuselage. These serve as visual identifiers in game play – I know what models are with which battlegroup – and they make the models look better all around. The canopy panels get a quick touch of Ironbreaker again to brighten them up. I paint the landing light on the nose red and give it a slight highlight and…
Done! That’s a quick & dirty tutorial. This method gets my minis done quickly (I painted 6 in an evening) and looks good on the tabletop!